|
||

|
|
Radio and Radio AntennaThe following topics are covered in this article - Radio/Tape DeckDave's son picked out a nice little Panasonic radio/tape deck with a removable face and capability for later addition of a CD player -- $150 (with the maintenance agreement and tax the total came to almost $200). Installation was free! Dave convinced his son that it's really a better idea, rather than getting a CD player, to tape his CDs. The sound quality is almost as good (nobody can hear the difference is a noisy Bug!). You can always tape the CD over again if the tape gets ruined bouncing around in the car. Regarding wiring of the radio - the '73 SB doesn't have a fuse designated for the radio. We attached our radio to fuse #7 (later moved it to fuse #8 so that the radio would go off when the key is turned off). Rob gave a more general response regarding the wiring of the radio/tape deck - Your best solution is to separate the radio power (or whatever it is you are using with the ignition left on) so the ignition can be turned off. It's unfortunate that old VWs never had an accessory position, but separating the power source at least would prevent any damage to the ingition. You'd just have to remember to turn off the radio when you have finished with it (key off plus radio off too as you get out of the car), or it will continue to use power (even if the volume is way down) and will slowly flatten the battery. You can run a new power lead to the radio from the back of the light switch - the thick red wires there are the main power source - VW used this switch as a junction box, one red wire in from the battery and two out - one for ignition-on circuits and one for ignition-off stuff like the horn and lights. "Killer" StereoSomeone wrote - I opted for an alternator rather than a generator because I want to upgrade lights ands use my stereo without it cutting out when I have the headlights on and use the turn signal. Rob responded - I'm surprised at your comments regarding the stereo causing problems with other electrics. The 12-volt generator puts out 30 amps, which should be enough to cover all but the car shaking type of stereo. There is nothing wrong with changing to an alternator - they are certainly longer lasting than the generator as the brushes inside run on slip smooth rings rather than the segmented commutator, and they have only an exitation current running through them - not the whole 30 amps as in a generator. With the huge stereos with big subwoofers, what normally happens is that the normal operating current might be within the capacity of the generator. But when the big beats come through the subwoofer the current is higher than the generator provides, so the battery supplies the extra and then gets some recharge between beats (from the generator). Of course if the overall current drawn from the battery is greater than the available charging current then the battery will gradually go flat, but would charge up okay with the stereo off. If you do indeed have the car-shaking type of stereo, then you'd need to have sufficiently thick wiring from the battery to the amplifier at least - that's where the BIG current draw would be. The rest of the car's wiring should be okay for what it needs to power. SpeakersDave at first installed our speakers in the doors. Routing the speaker cables into the doors was very easy. Dave found two layers of metal where he drilled the new hole through the door jamb, but just kept right on going. Then Dave used a clothes hanger with a hook on the end and pulled the cable right through. Rather than putting his speakers in the doors, Rob used the original single speaker grill next to the instrument cluster (mono radio!) until a relative put speakers in the rear seat side panels. Rob was a bit unhappy about this, as replacement panels are VERY hard to get in Australia, and Rob wanted to keep the car as original as possible. Also, the speaker grills there in the rear project just a bit into the rear seat area, where passengars may bump their thighs on them. And they do make it a bit more awkward to get the rear seat out, which is a tight fit at the best of times. Later, as part of the interior restoration in his SB, Dave installed fiberglass speaker 'kick panels' in the front side panels of the cabin. These are a much preferable option than installing them in the doors and ruining the door trim. Dave purchased the speak kick panels from Innovations in Fiberglass. For more information, see our article on Speaker Kick Panels. Antenna and Antenna Well
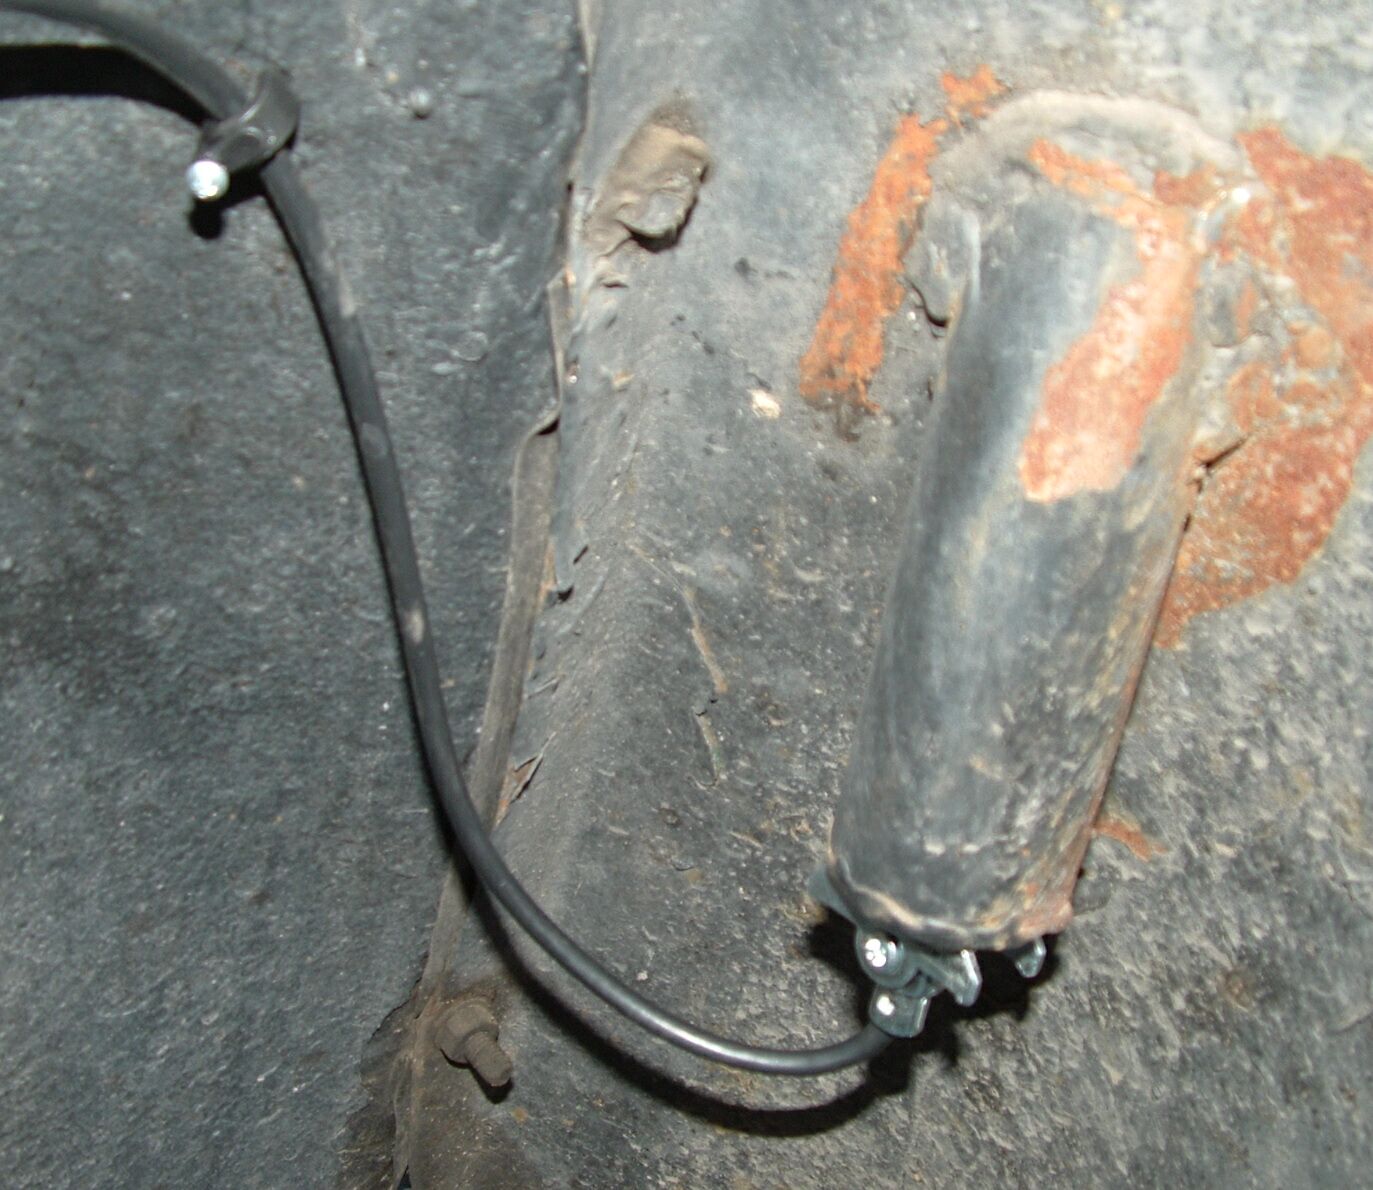
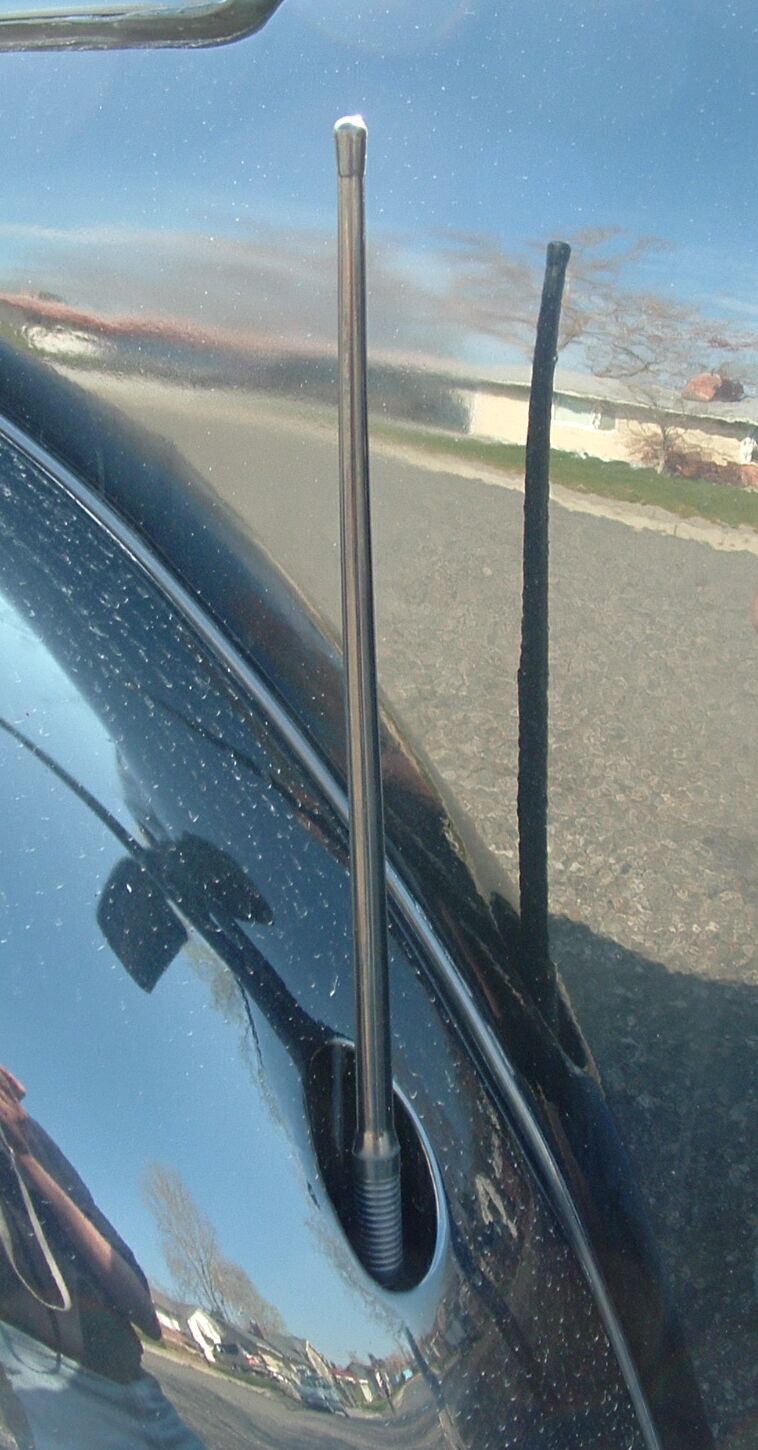 Antenna Well in the FenderDave wrote to a RAMVA contact - I have the challenge of dealing the 'frenched-in' antenna well in the left front fender. Some enterprising soul had installed the well and then run the antenna wire through one of the bolt holes for the fender! Rob, the "keep-it-stock" have of this duo, asked - Have you looked at the possibility of using the 'correct' mounting just under the left/bottom windscreen corner? The original hole is just in front of and to the side of the windscreen on the left side. The original fitting has the base of the antennae going down into the black hole. The base of the antennae sits in the black hole on that side, and the connecting coax lead is very short. These usually have a simple lock down device (slot in the 'knob', with a special 'key' to pull it up) for a bit of security. Mine came without a radio, and it had an oval shaped cover plate there. Your's might have been covered up with body putty and painted over, since they all came with this hole as far as I know. The antenna looks quite good in the original location. Make sure it's designed for the VW so the cover plate covers the hole properly -- it's a special shaped fitting. I bet Mid-America Motor Works (formerly Rocky Mountain Motor Works) would have them. Dave responded - I would prefer to use the correct' mounting, but we kinda gotta play the hand we're dealt. Besides, it's 'cool!' :-) While taking the antenna out to correct the wiring situation, Dave inadvertently pulled out the entire well, leaving a gaping elliptical hole in the fender! Dave fussed and fumed with fiberglass mesh and epoxy, trying to 'glue' the antenna well back into place (it was originally installed with mesh and epoxy). Dave had a modicum of success with this method, but he was never satisfied with the situation. When it came time to paint the car as part of the restoration, the problem with the 'frenched-in' antenna came up again. The guy at the paint shop convinced Dave that they reinstall the antenna well by welding it to the fender. Dave had them go ahead and do that, and he was delighted with the result. Solid steel cylinder, welded in place, then finished beautifully. They painted the underside, too. Here's shot of the newly welded 'frenched-in' antenna well from the underside -
 Antenna Well Welded In PlaceDave went to an auto audio shop and found a nice antenna to install in the antenna well. Dave was pleased with that, too, as it picked up his favorite FM station out to about 180 miles. However, securing the antenna firmly in the antenna well was a problem. The well is about 4-5 inches deep, and the antenna needs to be secured with a nut both top and bottom. Two problems -- the bottom of the antenna is not made to accomodate a nut, and the nut on the top is very difficult to reach -- neither a deep-set socket nor an impact socket is long enough. The antenna has two standard little fittings that are designed to hold the antenna in place from the back side. Dave snugged these up against the large washer on the bottom of the antenna well. With the lower portion of the antenna extending up into the antenna well, Dave started the nut (a bit fiddly to do, reaching down into the four-inch antenna well) then lowered the 13/16" deep-set socket down onto the nut. Dave placed another socket onto the top of the first, then, while holding the fittings on the bottom tightly against the large washer, Dave snugged down the inside nut at the bottom of the antenna well with his 3/8" ratchet.
This is impossible to do, of course, with a one-piece antenna -- you can slide socket down the antenna and into the antenna well all right, but you can't snug it down because the antenna is extending through, and the socket isn't long enough for you to get a wrench on it. Antenna Cable and Cable RoutingThe wire that runs from the antenna to the radio is a coaxial cable. A coxial cable is one that consists of two conductors that share a common axis. The inner conductor is typically a shielded straight wire, either solid or stranded. running through the center of the cable. The outer conductor is typically a shield that might be braided or a foil. In our experience this outer conductor is simply a number of wires around the circumference of the cable. Coaxial cable is typically used to carry radio signals, video signals, measurement signals and data signals. The signal is carried between the cable shield and the center conductor. This arrangement give quite good shielding agains noise from outside cable, keeps the signal well inside the cable and keeps cable characteristics stable. If you find that you have to connect two cables, go to Radio Shack (or similar) and get a special coaxial cable connector. You will first need to strip the outer insulation off of the cable, about 3/4" inch from the end, then fold the outer wires back. Leave about 1/4" of the inner insulation, then very carefully strip about 1/4" of the insulation off of the inner wire. Note: The inner wire is very fine and delicate. Work slowly and carefully to make sure you don't cut the wire. The connector consists of a central portion that the inner coaxial wires slip into. Typically these are then snugged down with small screws. Then the ends of the fitting are folded over the cable such that they make contact with the outer conductor (i.e., fine copper wires) and tightened down with pliers. The connector is then encased in a plastic cover for protection. As mentioned above, a PO ran the antenna wire through one of the bolt holes where the fender bolts to the body. And another bolt had to be loosened to accommodate the antenna wire, so Dave had a strip of daylight about 12" between the fender and the body down on the lower part of the left front fender. Dave assumed that he was going to have to drill some holes between the left front wheel well and the interior of the car for the antenna cable. A question was posed to the RAMVA Newsgroup - Has anybody ever seen a radio antenna mounted in a well in the left fender? If so, how is the best way to route the cable into the car? Right now it's going through one of the fender bolt holes, which I'd much rather use for holding on the fender and the bead!.
Dave wrote to Rob - I'm going to rip out the radio antenna that's mounted in the 'frenched in' well in the left front fender, then replace the fender bolts and snug down the beading. I've got a new antenna to install in the antenna well, but I need to figure out the routing for the cable. It needs to go up and around towards the front, with maybe a little device of some sort to hold it in place inside the wheel well. Then into the trunk somehow and on through the firewall to connect to the radio. I noticed that there is a hole through the firewall behind where the radio sits with a grommet in it -- I dont know where it goes, but it sure would be handy for the antenna cable. Otherwise I'll need to find the best place to drill a hole through the body into the interior of the car to run a new radio antenna cable through. At the suggestion of someone on the RAMVA Newsgroup, I plan to insert a rubber grommet in the hole to keep water out. Later, Dave wrote -I tackled the installation of the antenna itself. It's no mean trick getting it from the antenna in the left front fender to the rear of the stereo unit. There is a hole right behind the stereo with a rubber grommet in it; the antenna cable goes from the rear of the radio into the fresh air box in the luggage compartment . I poked the end of the antenna cable (I had two pieces) through the hole from the rear, then I had to drill a hole in the left side of the fresh air box through which to route the cable out to the antenna. Then the fun part. I installed the antenna in the antenna well -- it looks really cool. Now to get the antenna cable from the antenna up into the trunk where it can connect with it's mate. First I poked a stiff piece of wire down through a hole on the left side of the gas tank that several other wires and the speedo cable go through. I found the wire under the car, then attached some 16-gauge wire to it and pulled the wire through into the trunk. Then I attached the end of the antenna cable to the wire and pulled it up into the trunk. A little fiddly at the last - a bit of a tight squeeze, but finally made it. In summary - Dave ran the antenna wire from the bottom of the antenna well in the left front fender, up the side of the wheel well (where he attached it to the body to keep it from dangling), around and up into the luggage compartment through the same hole that the speedometer cable goes through, into the side of the fresh air box and through the hole in the center into the cabin, where it attaches to the rear of the radio.
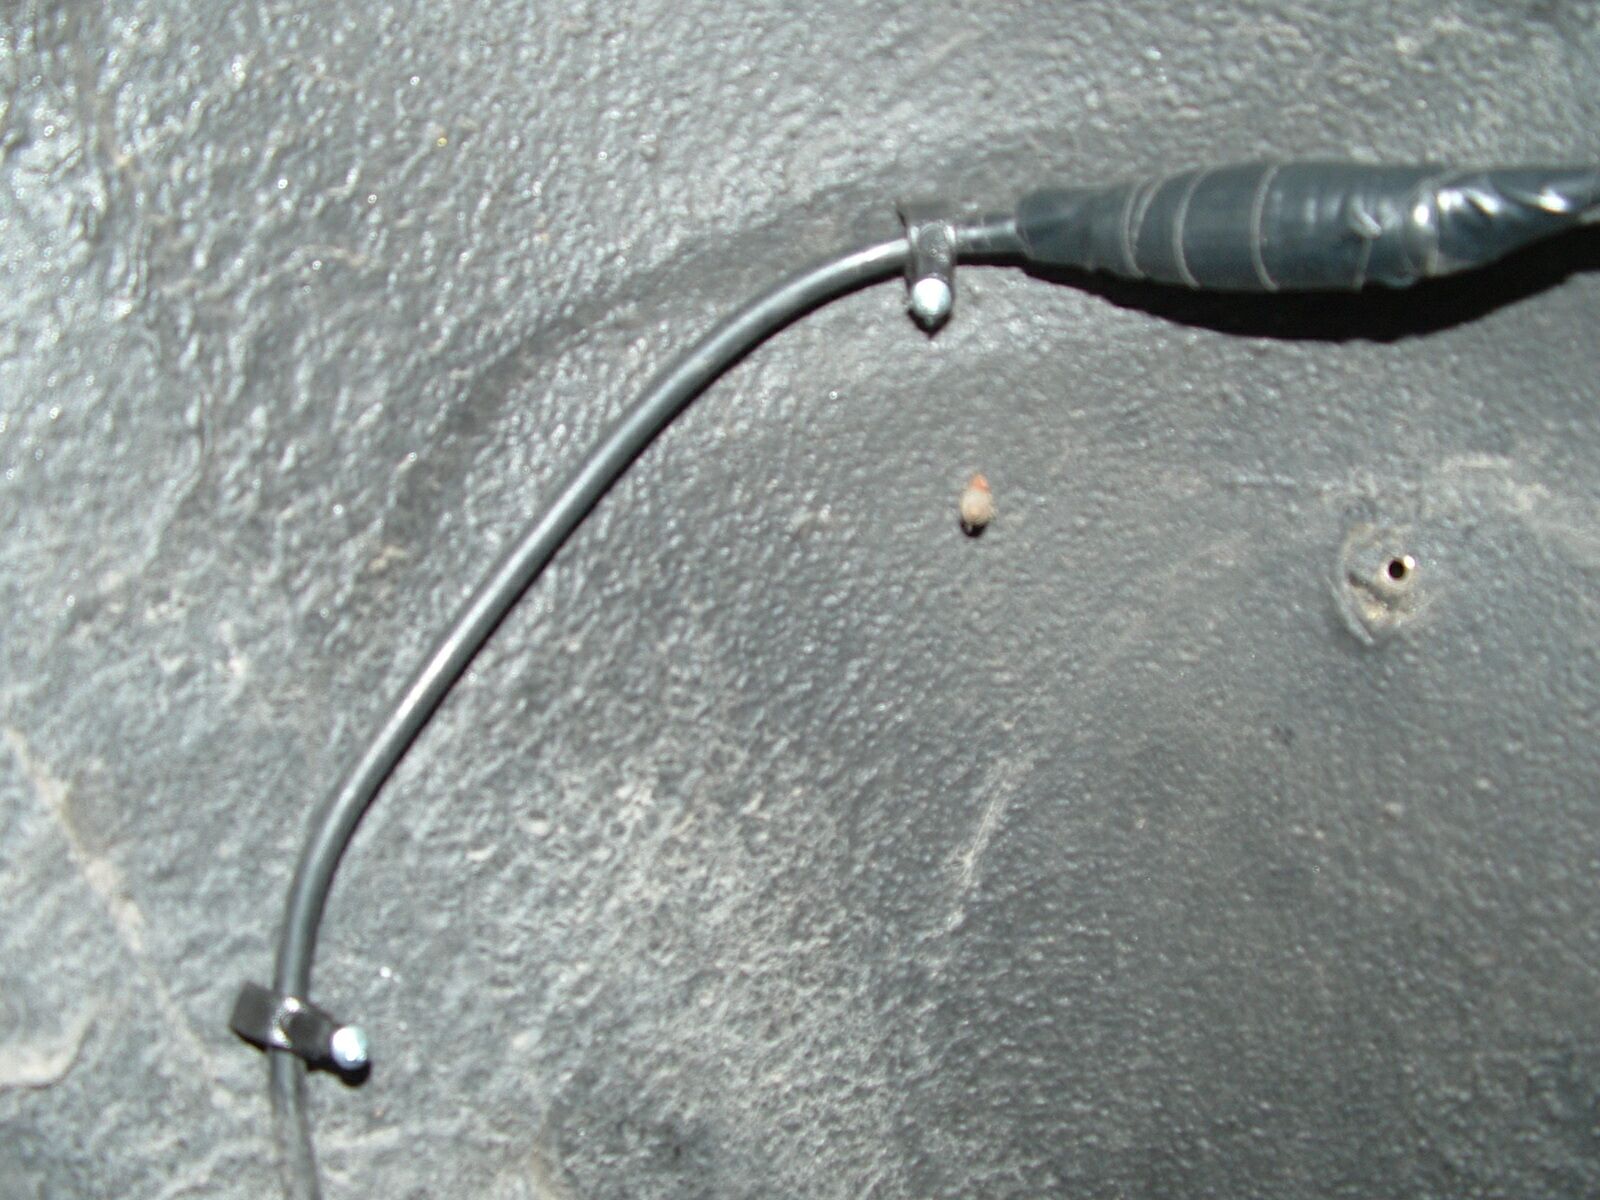 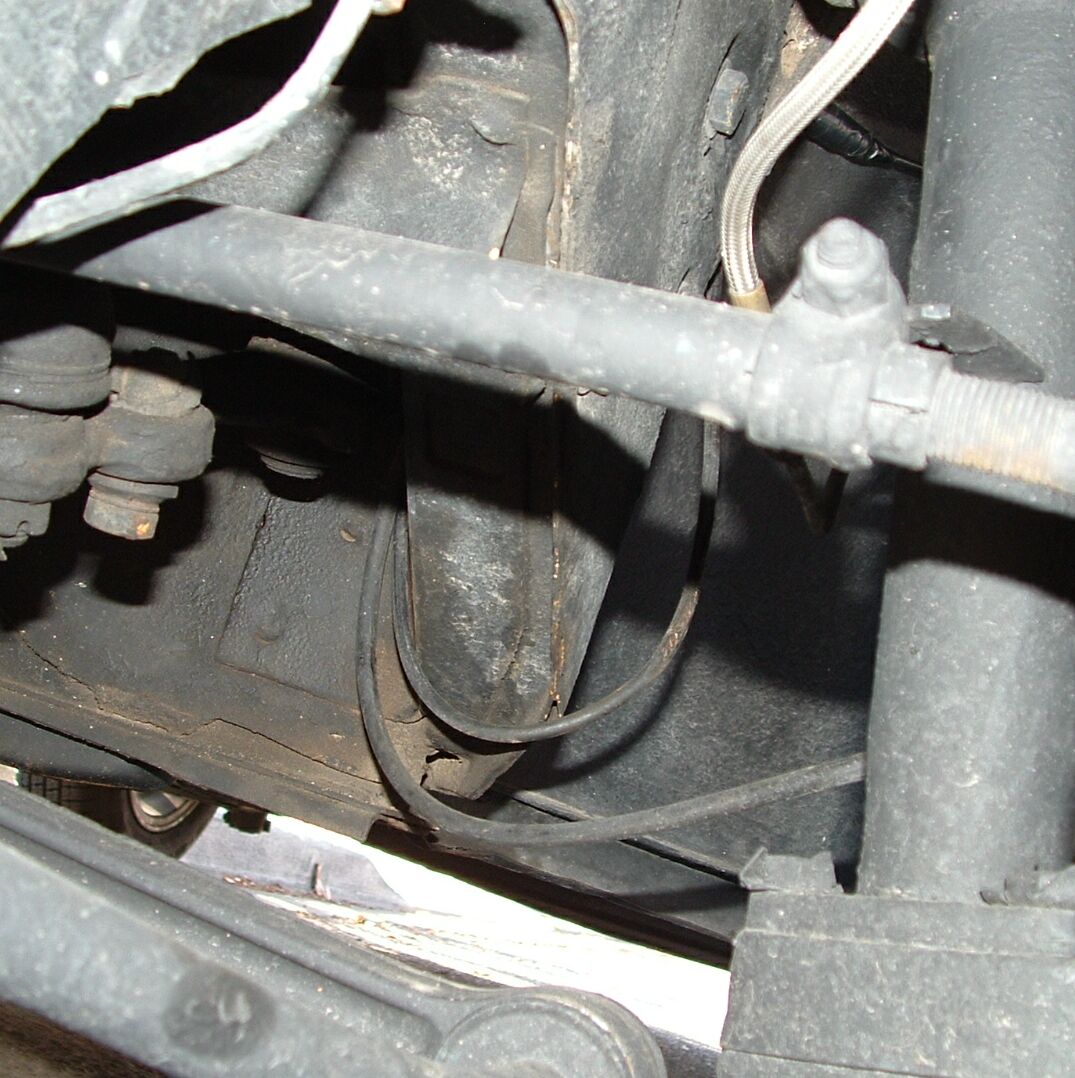 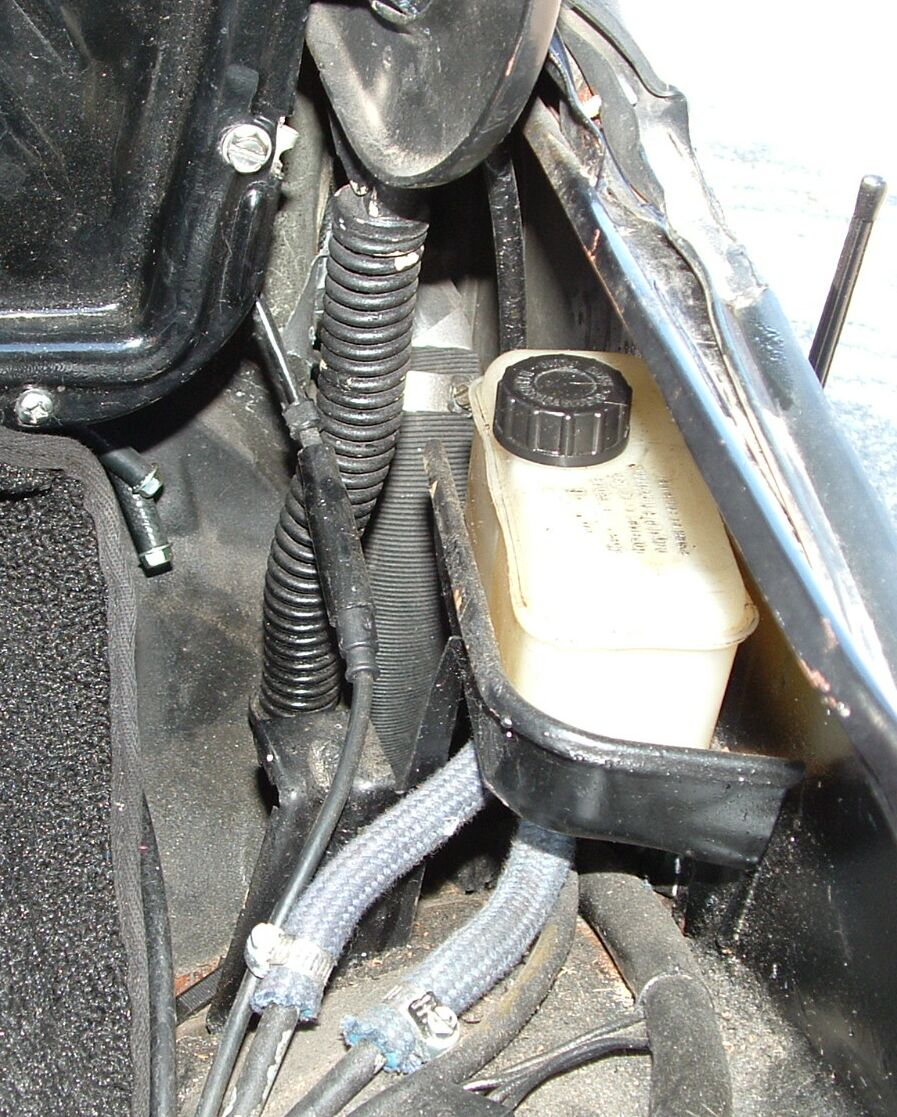 Dave's Cable Routing
|
||
|
|