|
|
|
Operation of a Volt/Ohm Meter (VOM)
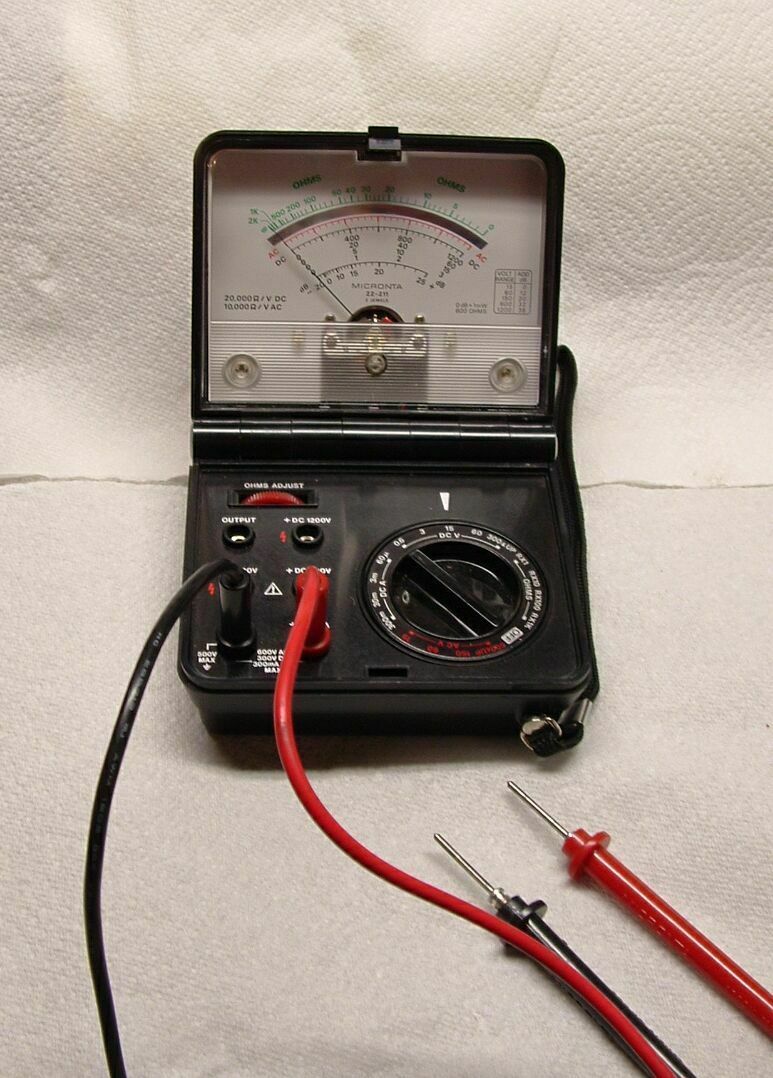
Dave's VOM (Multimeter)
~~~
Electrical Tests Using a VOM
For all of the following tests, plug the black lead into the (-) COM (negative) jack on the meter and the red lead into the (+) V-Ω-A (positive) jack.
To Check Continuity (Resistance) -
- Make sure that the item you are going to check is attached to no current--switch it off, disconnect it, unplug it, etc.
- Set the pointer on the dial to an OHMS scale (Rx1, Rx10, Rx100, etc.).
- Touch the two probes together; the needle should go to zero (on the right side of the green scale). If it doesn't go exactly to zero, adjust it with the red OHMS Adjust dial.
- Put one probe on one end of what you're checking and the other at the other end. If the resistance is zero ohms, you have continuity. If the needle doesn't go all the way to zero, try a smaller scale.
To Check DC Voltage -
- Make sure the electrical power is on to the item (line, fuse, switch, etc.) that you wish to check.
- Set the pointer on the DC V dial on the voltage you expect (e.g., for the Volkswagen, set the dial at 15). If you are uncertain of the voltage, start at the top end and work down.
Touch the black probe (negative) to any ground.
- Touch the red probe to the hot side of the item. The needle should swing to the expected voltage.
To Check AC Voltage -
- The procedure for checking AC voltage is the same as for DC voltage except that the pointer on the meter is set to AC V (in red).
*
* * * *
|
|
