|
||

|
|
Alternator RebuildingAccording to the acknowledged VW electrical guru "Speedy Jim", re-building alternators is quite a chore, and it may be difficult getting the proper bearings. Jim says he would opt for a rebuilt unit if it's bad. There are two bearings, one at each end, and two small brushes which ride on "slip rings" - on the spinning part. There should be a brush-block on the side or top which may be removable so you could see the state of the brushes. The old style generator brushes are replacable in the car, and so are the alternator brushes. Alternator brushes wear much slower that generator brushes because they ride on smooth slip rings and carry only a small current, so I may just have a slow deterioration of these. If they are worn, also check that the slip rings aren't too worn down into "valleys" where the brushes ride. If this happens the alternator would definitely need to go to an overhaul place to have the rings machined or replaced so new brushes will ride properly. Alternator Brush Refurbishment(Motorola Alternator)First an interesting saga, then Dave's fix procedure - Dave had a worrisome problem with his "Alt" light. He wrote to Rob - The light was on all the way home from work (~20 miles) tonight, with the headlights on. I checked the fan belt a couple of days ago - seems to be all right. Rob responded - If the fan belt had come loose enough to cause the "Alt" light problem, then the engine would be overheating, as the cooling fan runs off the belt too. Check the battery voltage with the engine off - it should be 12.6V or therabouts, and with the engine running 14.2-14.5V. If the voltage doesn't change and the fan belt is good, then it might be the rectifiers inside the alternator or something like that. If so it would be an odd one since alternators are very reliable (as an example, my old truck has 900,000km and the alternator has never been touched). Dave wrote - The fan belt is not loose, cracked or frayed. Voltage across the battery terminals (engine off) is about 12.5V. With the engine running (charging voltage) it's about 14.5V. The alternator was replaced on 4/29/08 when I had the engine rebuilt. This morning when I started the car (it starts instantly) the "Alt" light came on and immediately went off, just like it should. Rob responded - If the voltage is still at 14.5 with the engine on, then the alternator is charging the battery OK. But maybe it's an intermittent problem, like a dirty brush (yes - there are two small brushes inside all alternators - they normally wear very slowly as they run on smooth slip rings at low amps, not like the generator which has large brushes carrying the full amp load on segmented commutators which spark/wear a lot). Just keep an eye on it and if the Alt light starts coming on more, then you might need to do some more checks. It might also be an intermittent fault with one or more of the diodes they have inside (which change the alternating current into direct current) - maybe getting hot and going open circuit. The rectifier section is replaceable - on some versions of the alternator it comes out with the brush holder, on others it's built into the void space inside the alternator and is much more difficult to replace. Dave wrote to Speedy Jim - I´m having a strange situation with the "Alt" light in my instrument cluster. Sometimes (but not always) it will stay on, but will become dimmer (but not go completely off) as the engine speed increases. Other times it will come on when the engine is started, then go off normally. I have checked the fan belt - it is the proper size (912mm x 11.3mm wide), in good condition, 1/2-inch deflection. The alternator was replaced when I had the engine overhauled in April 2008. With the engine off, the battery reads 12.5 volts across the terminals; with the engine running, it reads 14.4 volts, which tells me it's charging. Jim responded - It could be a flaky regulator. I would connect the multimeter to the battery semi-permanently, with the meter in the cab where you can see it. See if the voltage is 14.4V even when the light appears to be acting up. If the voltage *is* correct when acting up, then the regulator is OK and there is some flaw elsewhere. Dave lengthened the leads on his VOM and set the meter on the passenger seat so he could read the voltage across the battery terminals with the engine running. He found that when the "Alt" light came on the voltage across the battery terminals dropped to about 12.5V, indicating that the battery was not being charged. The problem really had Dave baffled. He wrote to Speedy Jim - I just went to see my doctor in Pasco, a distance of about 20 miles, highway driving. The "Alt" light didn't come on at all, either going or returning. It did flicker briefly in town... Then the other morning on the way to work the "Alt" light was on and the voltage remained at 12.5V. Half way to work (about 10 miles) the "Alt" light went off and the voltage jumped to 14.5V, indicating that the battery was being charged. Same situation on the way home, only this time the "Alt" light was off and the voltage read 14.5V on the first leg of the trip. Then I went into a store; when I came out and started home, the "Alt" light was on and the voltage read 12.5V for the duration of the trip. It seems (at least to me) that there is something wrong with the alternator which causes it to charge only intermittently. Jim responded - It may be that the brushes are making poor contact, intermittently. You can pull the brush holder out (along with the regulator, if internal) and check them. You can also polish the brass slip rings by spinning the shaft and holding a pencil eraser against the slip rings. If that's no help, replace the regulator. I doubt that there is a serious problem with the alternator innards. Note from Rob: A quick explanation of the way an alternator works. When you turn the ignition on, the spinning part of an alternator gets a small current from the battery (initially through the Alt/Gen dash light - to those slip rings and brushes) to produce an electomagnetic field in the spinning core. When you start the engine, this field sweeps past the fixed outer wire windings, inducing a large alternating current through those windings. This alternating current flows through sets of diodes (which allow only one-way electrical flow) to convert the electrical flow into direct current, which is then used to power the car and charge the battery. If there is no power flowing through the brushes and slip rings into the spinning core, then no power is produced in the outer fixed wiring, and the car and engine will be running on battery power alone. The Alternator dash light plays a critical part in this process. When the ignition is turned on (engine off), the alternator core sees a tiny current through the Alt light to those windings and this produces a tiny electromagetic field in the spinning windings. This starts the process of the alternator making power when you start the engine. The process then becomes self-sustaining, and the Alt/Gen dash stops glowing. so if the Alternator light does not glow when you first turn on the ignition, the alternator will not produce any power. Dont confuse this with the older generators, which have completely different electrical circuitry - they can make power with an inoperative dash Alt/Gen light.Dave approached the job with fear and trepidation, as always with a procedure he hasn't done before. But this one turned out to be a piece of cake. Here's Dave's procedure for refurbishing the alternator brushes -
 Dave's Motorola Alternator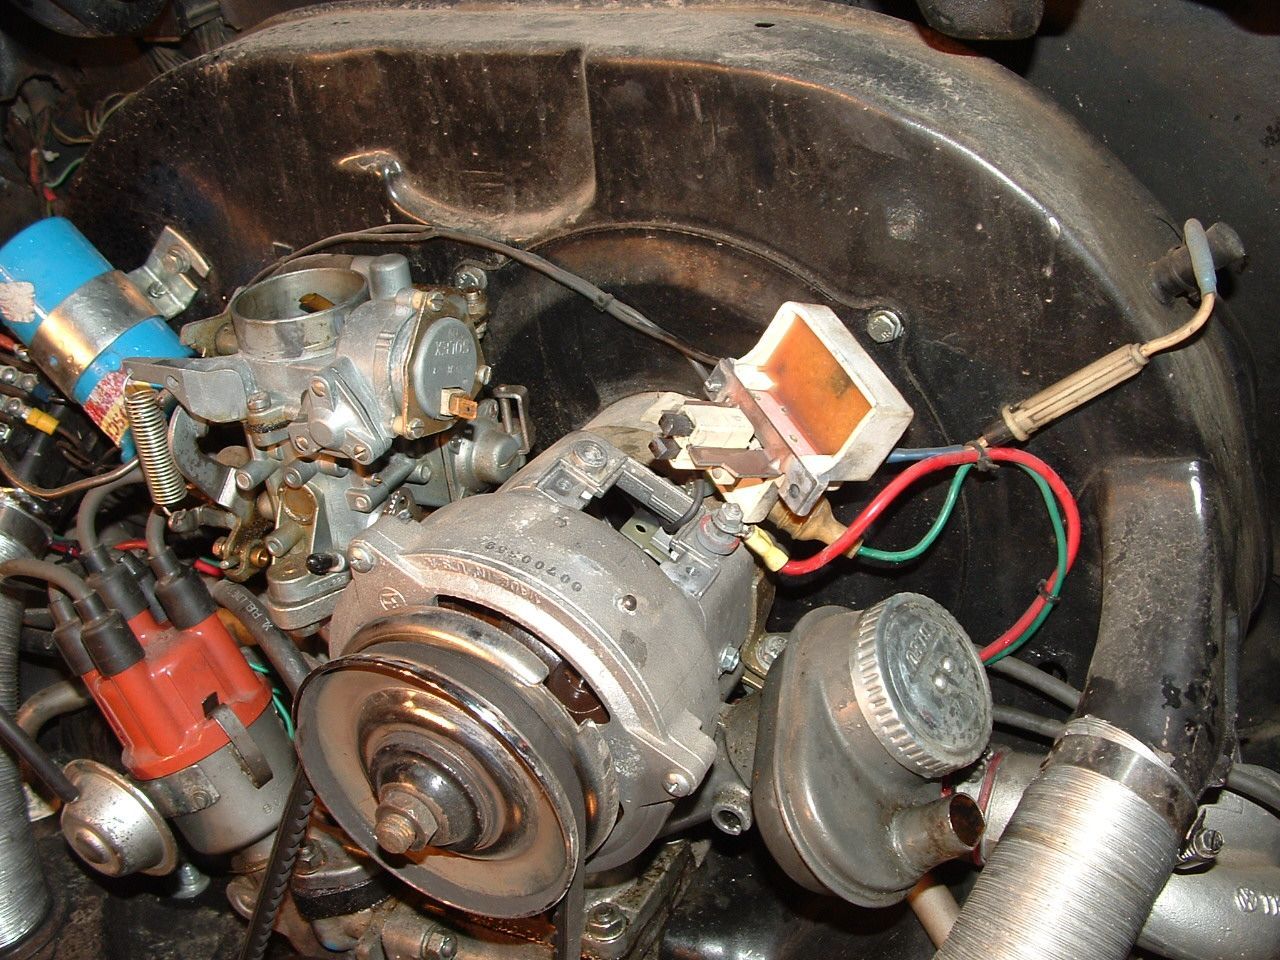 Brushes
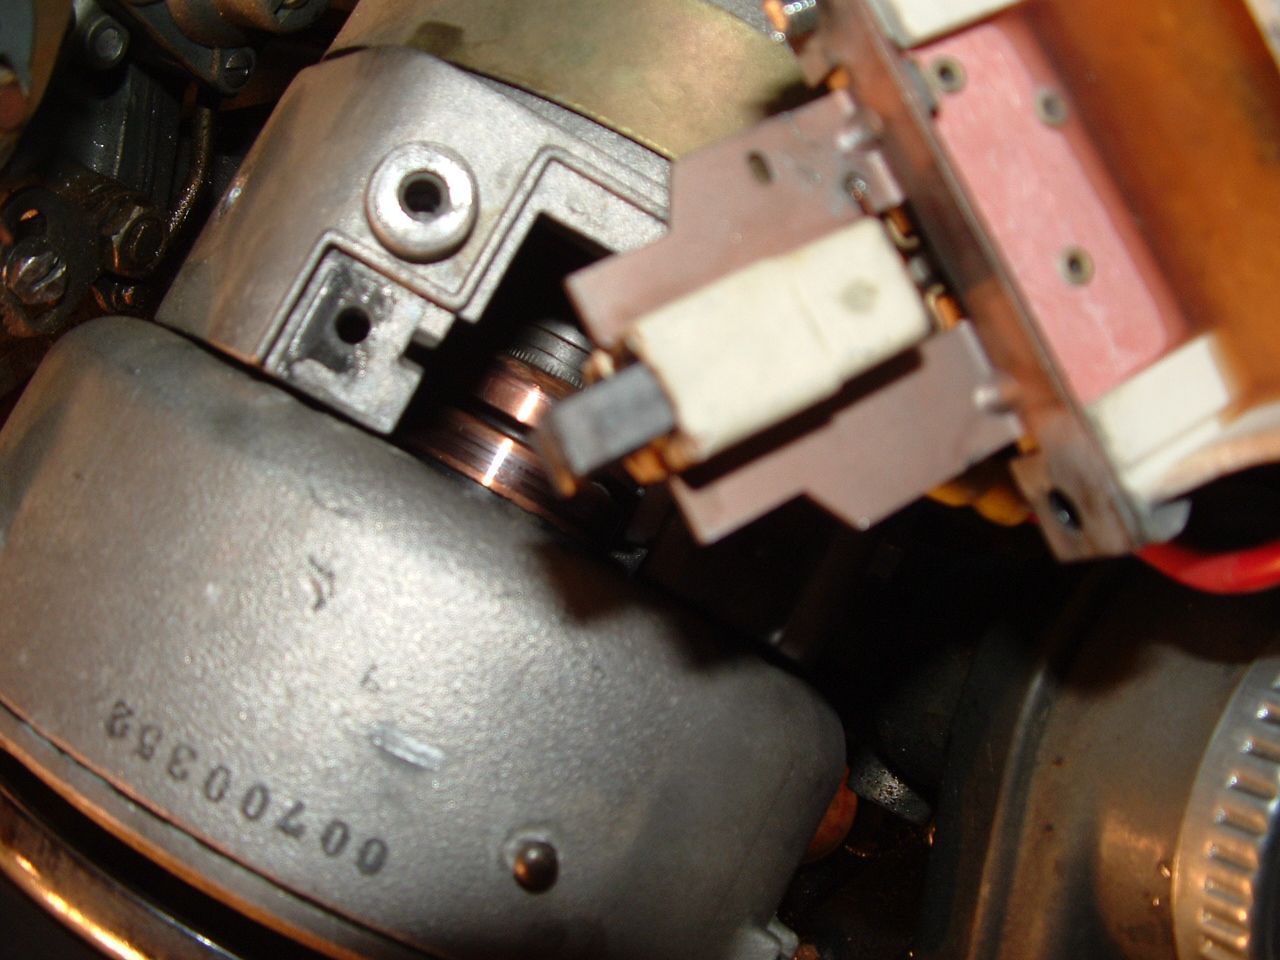 Slip RingsNote: I used 200-grit sandpaper on the slip rings as well as on the brushes, before both Rob and Speedy Jim recommend using the "gentler" eraser - I hope I didn't do my slip rings any harm! You're done!
|
||
|
|